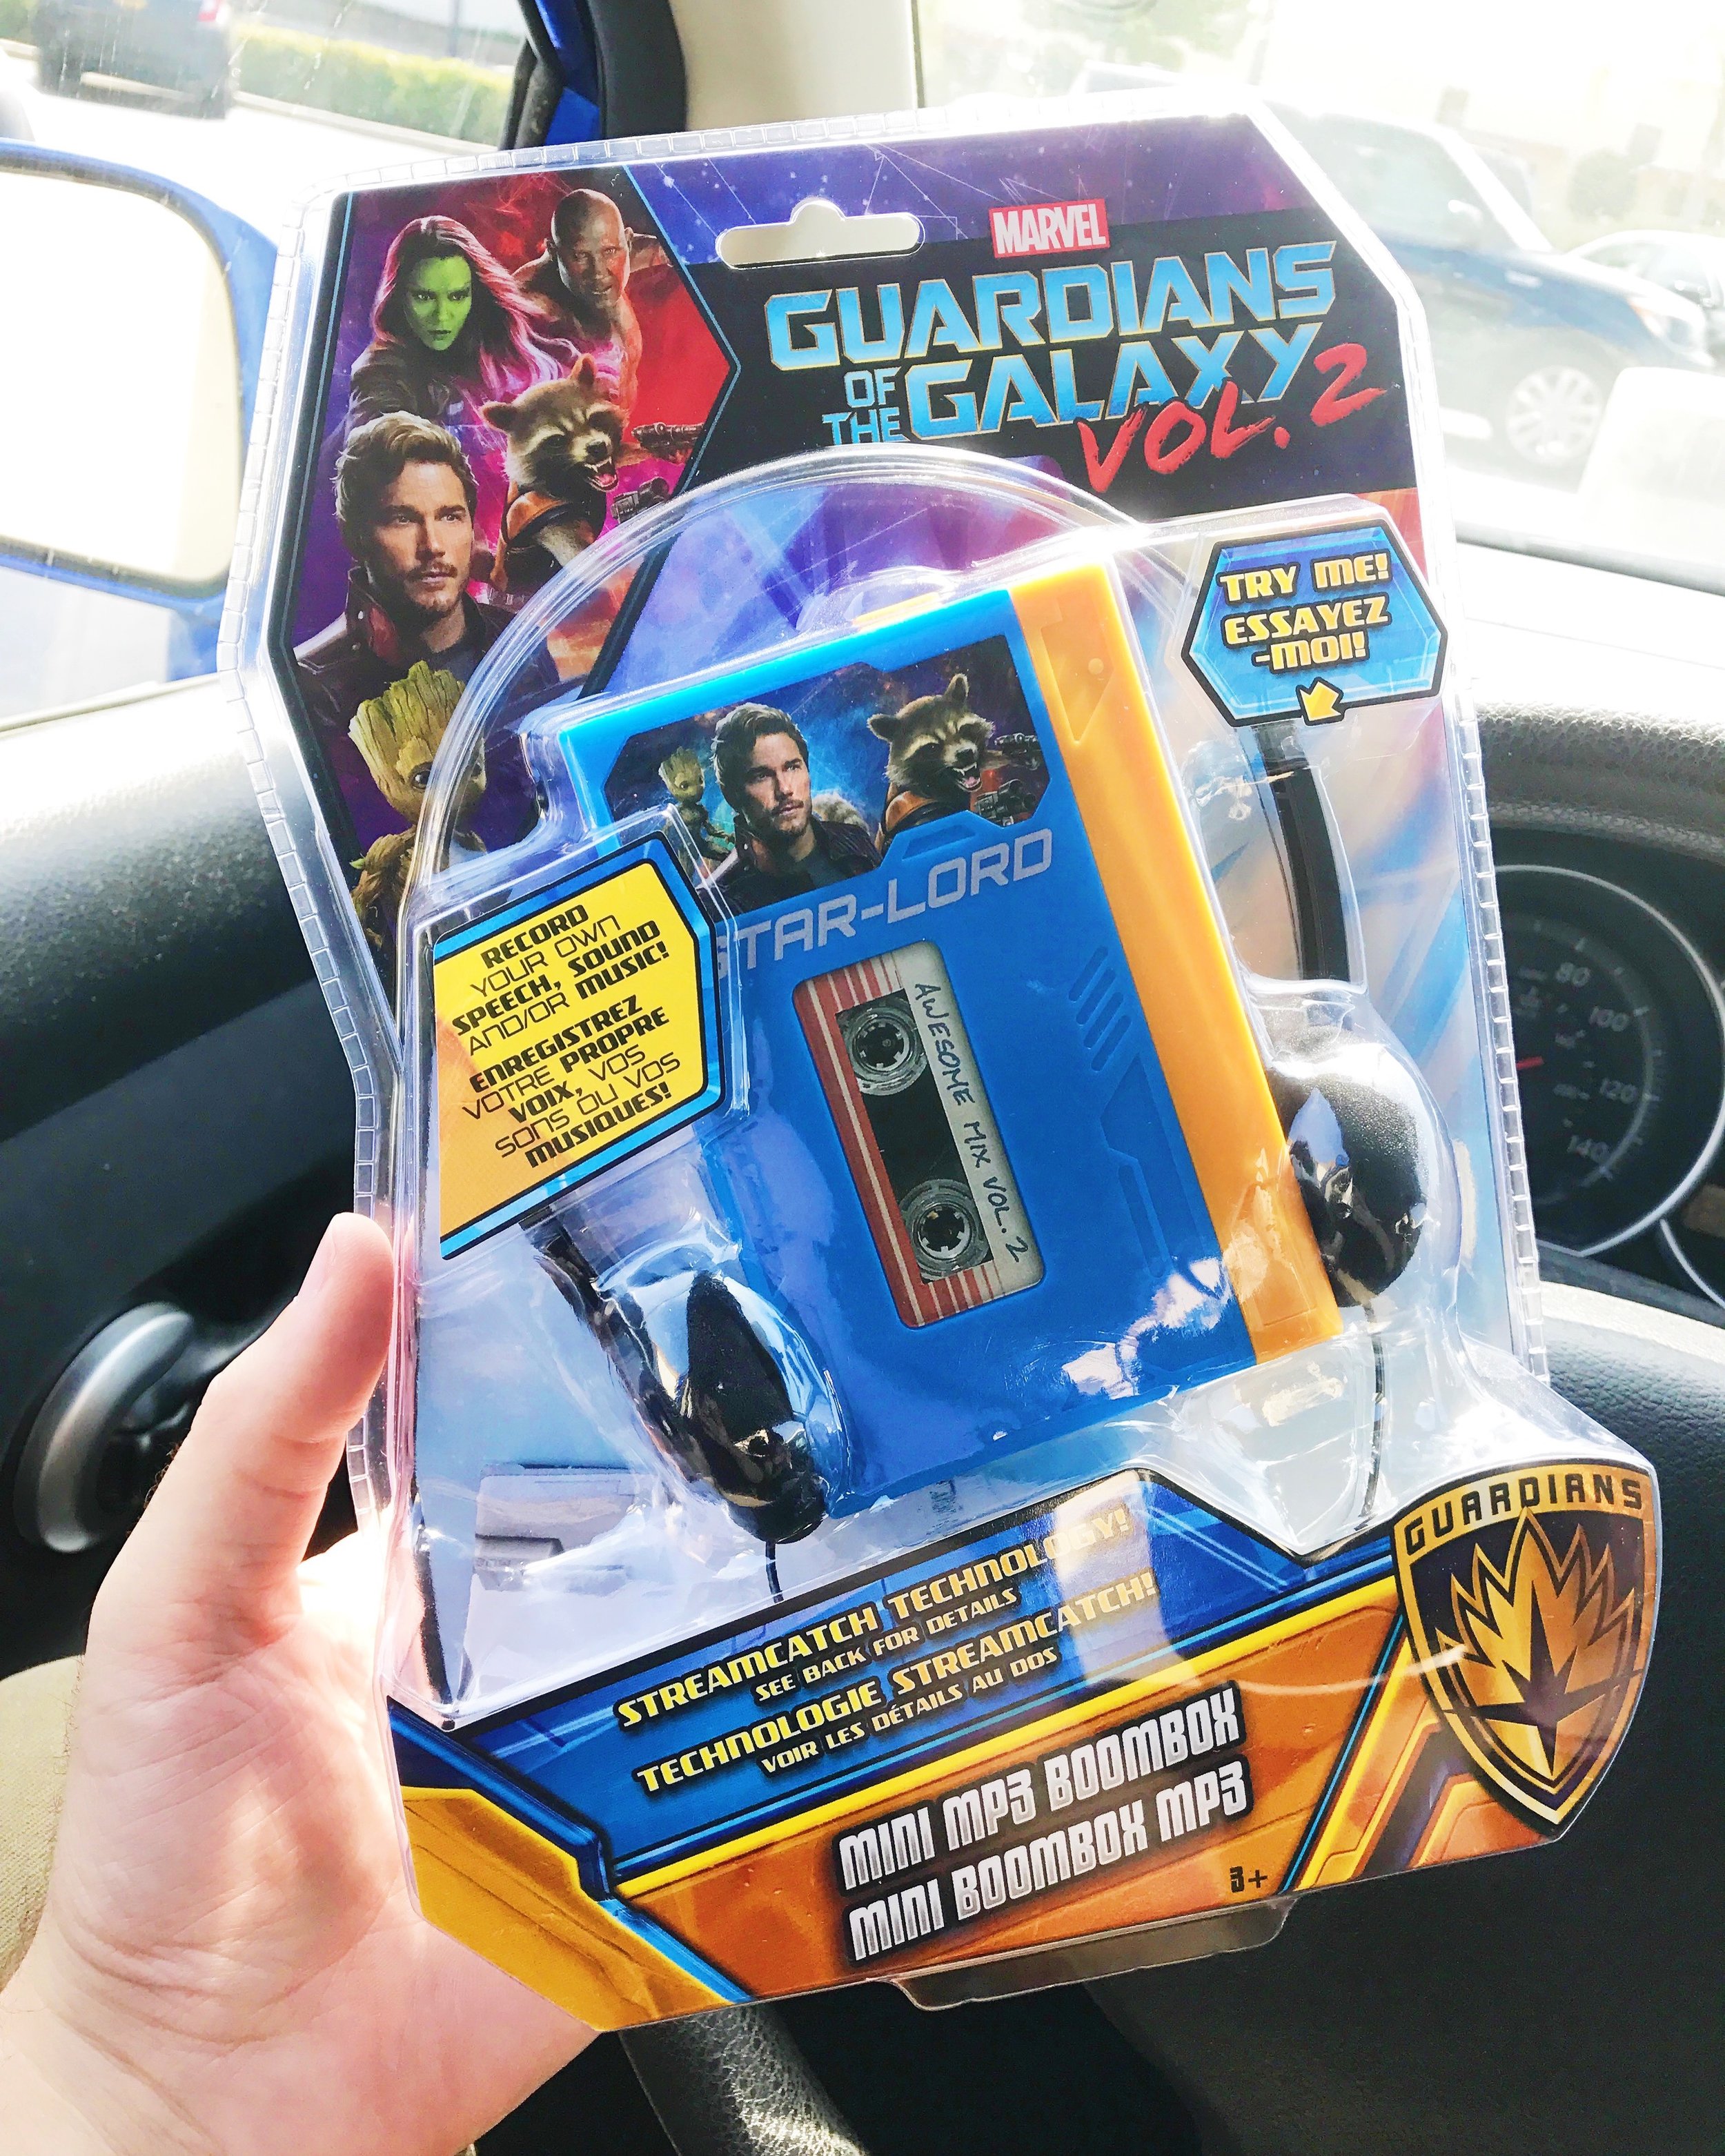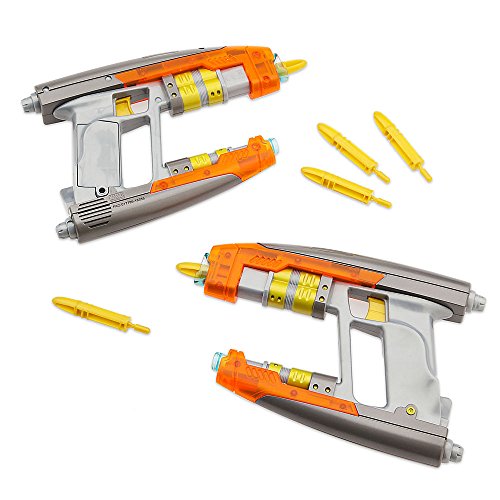
It's finally time to pick up where I left off! I had to take a break from working on my Star-Lord cosplay for several months because finances got a bit tight for a while there, but I'm back at it! So far I've modded some toy element blasters, and a toy Sony Walkman and a lot of people really enjoyed those videos (and have been asking for more), so I bring you the Abelisk scanner from Guardians of the Galaxy Vol. 2!
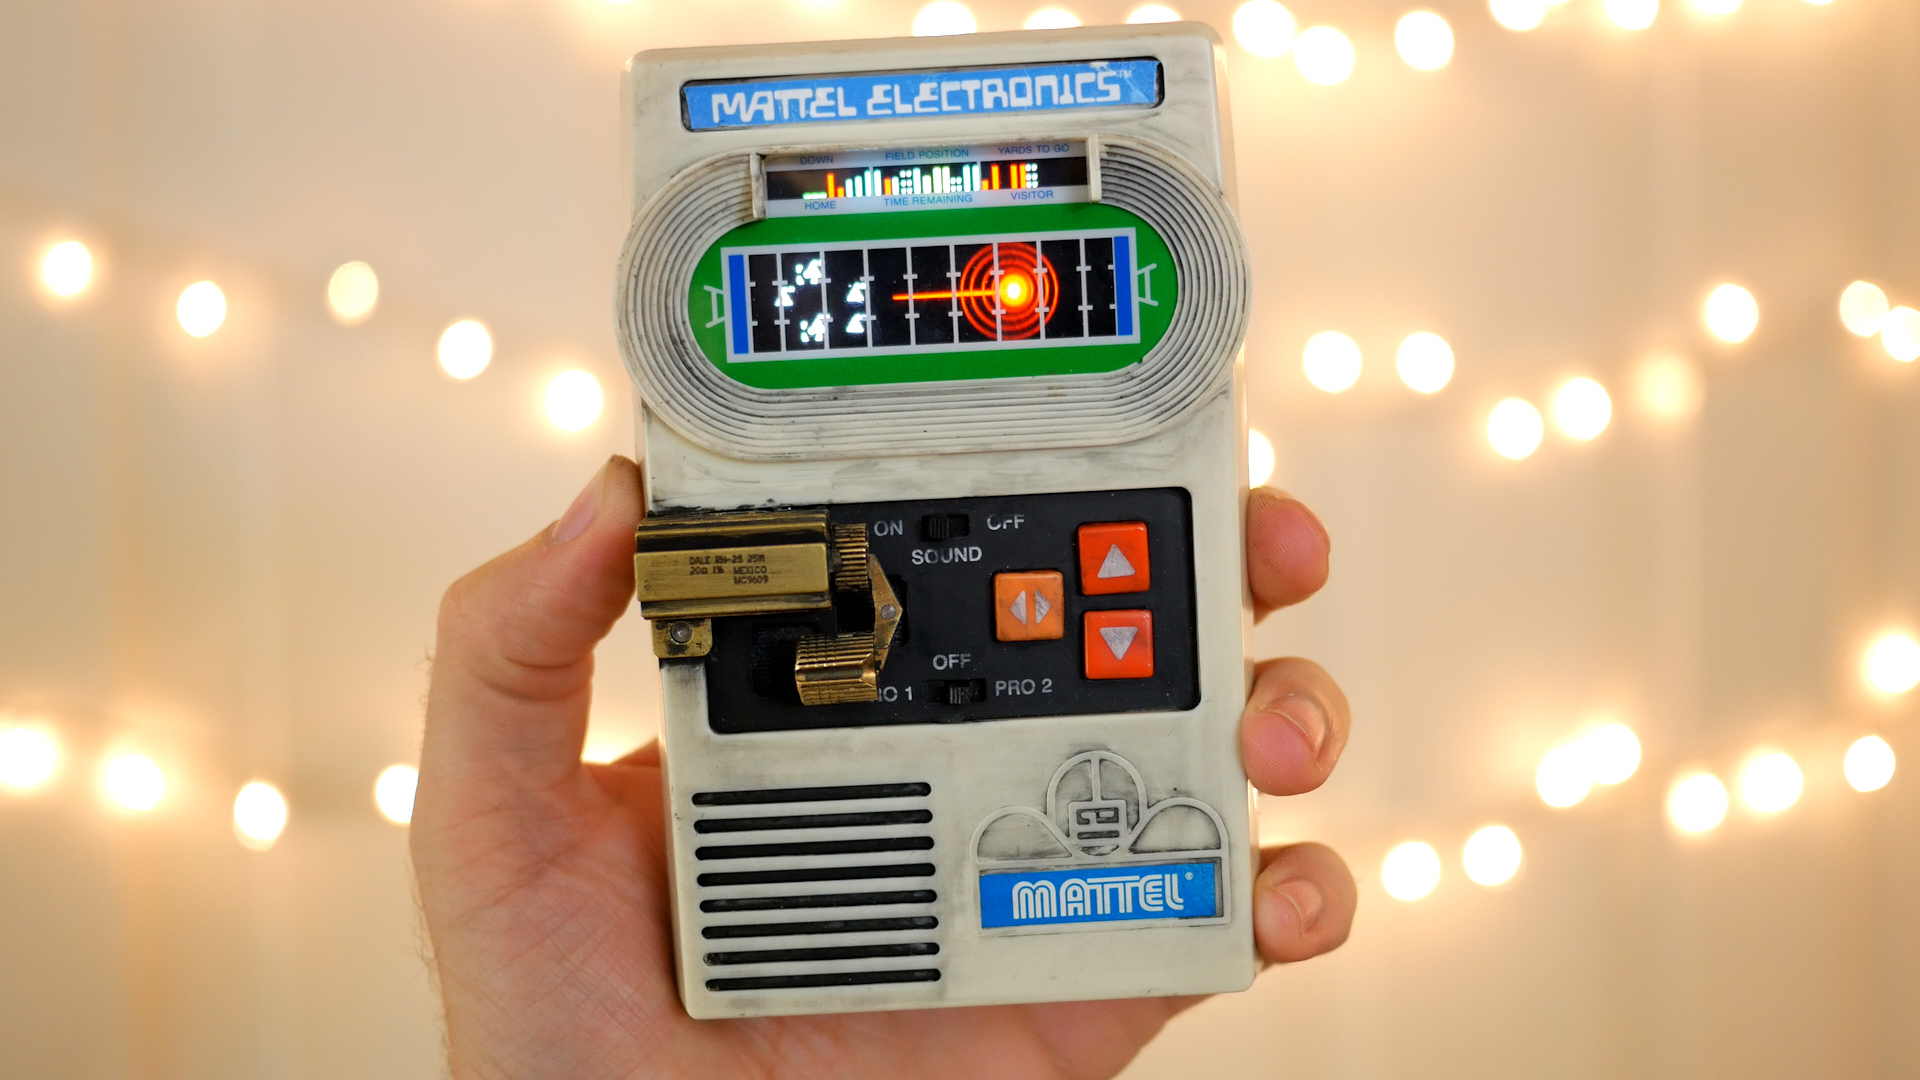
The Abelisk scanner had a very limited amount of screen time, but it is arguably the coolest prop from the entire movie and once I saw it, I knew I had to have one! Basically, Rocket (or Peter Quill, but most likely Rocket) has modified a 1977 Mattel Electronic football game to function as a scanner of some kind. Whether is specifically designed to track the Abelisk, or if it can be used to track other creatures (hopefully it'll make a reappearance in future films!) is unclear. What I like about this the most, however, is that it was most likely in Peter's possession when he was abducted as a child. It would be one of his few actual childhood belongings.
Okay, onto the mod! So for this mod you'll need the Mattel Classic Football game that was released in 2000. It's a virtually identical remake of the original and, interestingly enough, is more screen accurate than the 1977 original because they used the 2000 remake for the on screen prop. You can tell because of the additional switch on the remake that wasn't present on the original! This can typically be found on ebay for about $25 (aff).

You will be needing the mod kit that can also be found on Ebay for about $30. Thankfully someone went through the trouble of finding the exact materials needed, and recreated the screen animation and is selling it in a nice little bundle, which includes replacement stickers! You can buy that here! (aff)
And finally you're gonna need a Samsung Galaxy SII (or equivalently sized phone). This will be put into the game so that the animation can play, making this an incredibly realistic prop. Thankfully I'm a bit of a hoarder and still had my old SII sitting in a drawer, but they can be found for pretty cheap. If you have a really tight budget, you can get away with printing out a screenshot of the animation and taping in in place. It won't be illuminated of animated, but it'll still look the part!
All in all this was a super quick mod; from start to finish it took less than 5 hours! Heck, it took me longer to edit the video and make this blog post! so if you can acquire the materials and tools, I highly recommend giving this mod a try.